WhatThis button allows you to create a new territory:
1st step: defining the territory’s name and the point of sale location
When you click on “New territory”, the content of the left-hand side panel changes to allow you to
- choose a name for your new territory: replace the default name and enter the name you want
- choose the location of your point of sale, from which the drive time will be calculated to create the territory: click on the map or enter an address.
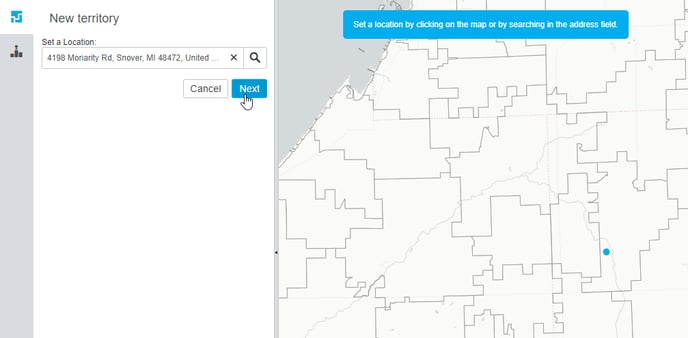
On the map, the point of sale will be displayed as a blue circle.
2nd step: use drive times to create zones
Click on  to define the area of your territory with drive times for each zone:
The map is centred and zoomed to your territory, and the themeset will change according to the territory view parameters set in the parameters.
The isochrones of each zone appear in gray, and the total area of the territory appears in red.
The value of each drive time can be changed by entering a new value in the text area (for Territory Manager Users only):![]()
The default value can also be changed in the Territory creation rules.
The type of distance can also be changed using the advanced configurations:
Here are the different types of distance that can be chosen:
- Time: a number of minutes, using either car, bus or foot
- Distance: a number of kilometers*, using the road network
- As the crow flies: a number of kilometers* as the crow flies.
* Distance units depend on the map's ground unit.
3rd step: validate or edit your territory
Once you click  , your territory will be created and added to the list. You are now in the edition mode of your territory, which will allow you either to change the block aggregation of your territory, or validate it.
What's next?
Continue with edit a territory.