ℹ️ The raster grid data in your time series should be in the same units.
-
Upload your first Geotiff to the CartoVista Server. See how to Manage Raster Grid Data
-
Click on the layer you have added.
-
Within the layer, select the Add Data Button

ℹ️ You can also click on Add Geotiff in the Action menu of the list view of data:
- The second Geotiff you add is added as a time series. Specify the name and time stamp for the data.

Once you have created a time series, you can see below the name of your layer the number of GeoTIFF in your time series:

ℹ️ If your time series is stored as multiple bands of your GeoTiff, choose
Select all bands when you add your data.

Click on "x GeoTIFF" to see the list of GeoTIFF. Click on a GeoTIFF in the list to rename it or change its timestamp:
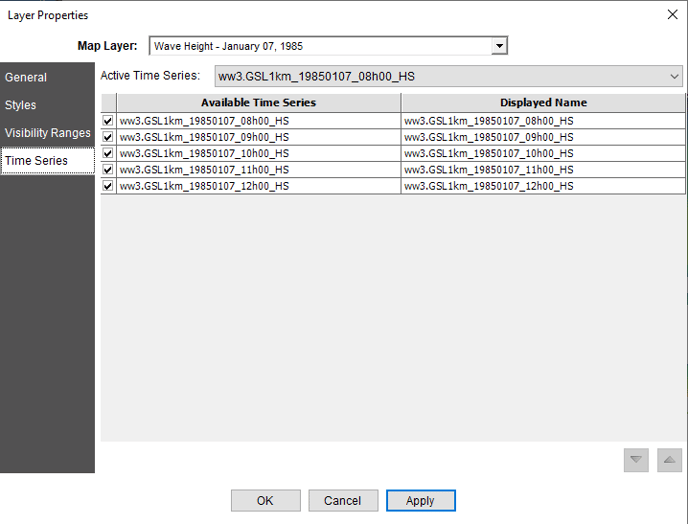
In the CartoVista Publisher, time series Grid Layers have an additional property to control the time series display. You can activate/deactive any item and change their order.